Today I have been looking at techniques for creating natural looking randomness. This comes in the form of various kinds of procedural noise. There are various techniques for procedurally generating noise available and I eventually ended up implementing Fractional Brownian Motion (fBm).
 |
| A Brownian Surface. From Wikipedia |
There is an awful lot of confusion on the internet about what each technique is actually called, and a lot of the information I read referred to this as Perlin Noise (including this page, which I based most of my implementation on.) This is incorrect however, as Perlin Noise is a very different technique, but produces a similar result. As far as I can tell, Perlin Noise is very complex and is overkill for most problems, which is where fBm comes in. More information about fBm and comparisons to Perlin Noise can be found here.
I will not go into huge amounts of details of the actual algorithm, but basic premise is that a deterministic function of noise is used and these values are interpolated at different scales and then combined. If you have ever looked at tools such as Photoshop and the generate clouds function, they likely used a function very similar to this.
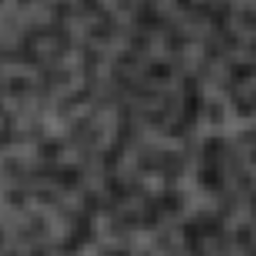
The first step is to have a function that can allow the generation of deterministic noise. This is a function that will always produce a single result when given the same parameters. The result of basic noise looks like this:

Not exactly very nice to look at. The next step is to apply some basic smoothing to the image. This averages values based on their neighbours. This producing a slightly better looking second stage:

Next, the actual fBm takes place. This page provides a pretty good description of the actual algorithm involved here. After the first pass, it looks like this:
Not quite what I am after...
After three more passes, each adding more and more finer detail, it looks like this:

No comments:
Post a Comment